Every home has at least one laptop or iPad these days and what better way to add a real personal touch by creating your very own stand. This project is pretty easy for anyone that loves DIY.
It does involve some basic blocking together of the wood, so you will need to be patient overnight while the glue dries, but the cutting of the planks, carving, sanding and oiling doesn’t take long at all. Perfect for those looking for instant gratification.

Timber is not always easy to source, that’s why this project is great. You can generally find planks of wood in most hardware stores, use old floorboards or other recycled timber.
Find inspiration
Choose a laptop stand design, we combined a number of designs we found to create our own that we hand sketched.
Cutting the planks
Cut the planks into desired depth of the stand.
We used 2x planks of Wood (240mm length and 120mm wide) – cut down to 300mm rectangles.

If parts of your planks are very warped (like ours were) exclude those rectangles from the gluing process.
Gluing
Ensure to apply glue to both surfaces, using a scraper smooth the glue evenly to cover the full surface both planks. Do this with each piece until you have reached the desired width for your stand.

Lay out a sheet of baking paper so your project doesn’t stick to the work bench.
Clamping
We used 4 G clamps, make sure they are big enough to fit all the glued sections together giving you the width of your laptop stand. When applying the clamps make sure to tighten them gradually and evenly so they bond with even pressure. We used PVA glue for internal and external use. Drying time for the glue is at least 24 hours.

If glue starts leaking out of the sides when applying the clamps, don’t worry about cleaning them up as you will be carving the surface later.
Wait – 24 hrs later
Cut out the side profile of the design you have chosen and outline it on the side of the blocked together wood.
Clamp and carve
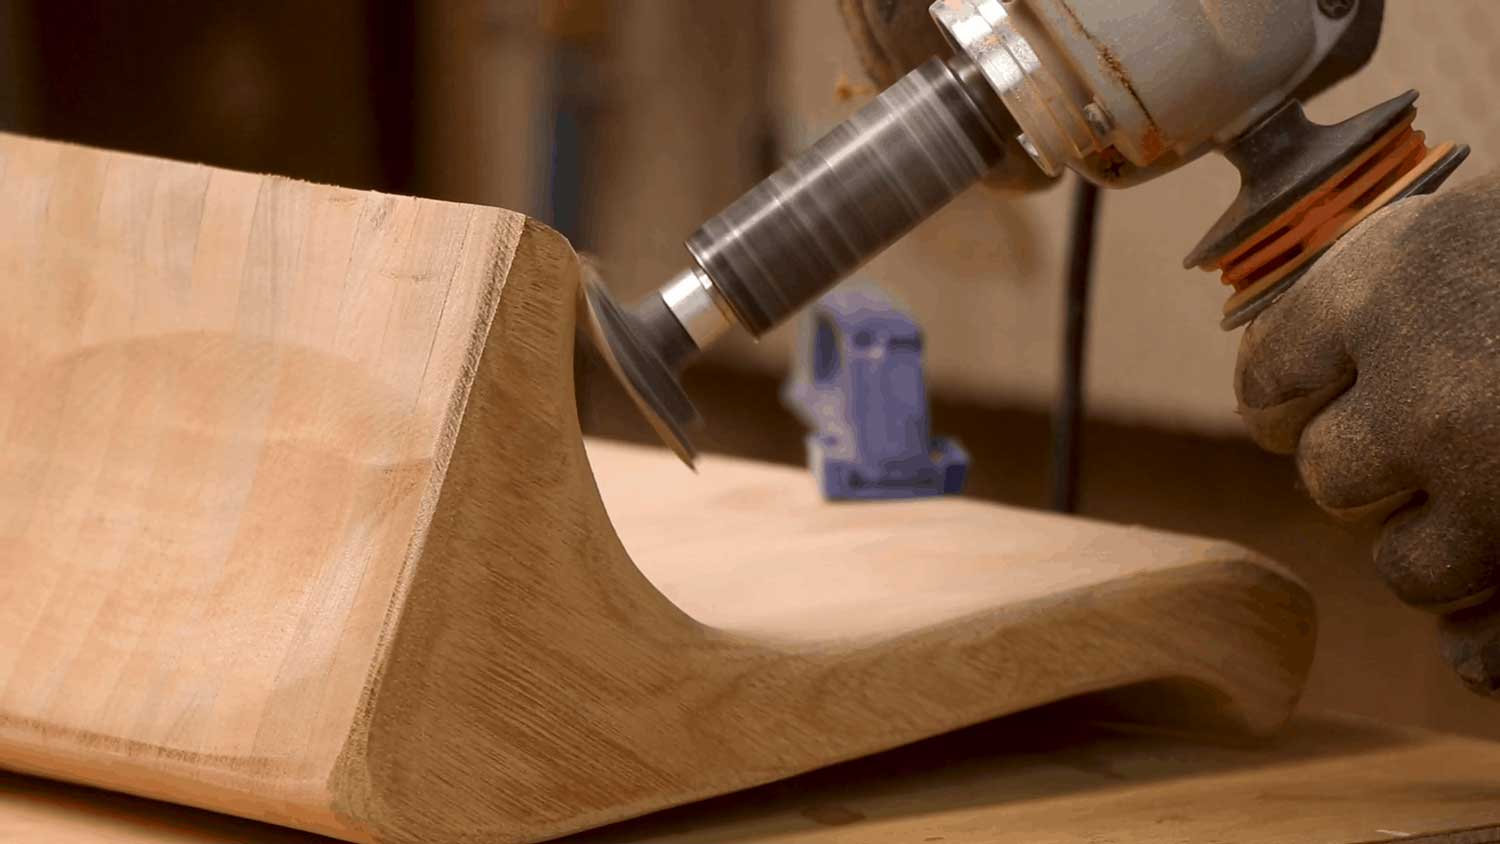
Using the TURBO Plane, gently carve the curves, starting with the underside of your block of wood until you get to the outline of the side profile on the sides. Continue to work your way across the bottom of the stand from side to side until you have an even surface which is aligned with the side profiles. Once you are happy with the rough shape of the bottom it’s time to start on the front. Turn your project over and work on the top in the same way you were carving the underside.
The top design is slightly different as it has a little lip to support the bottom of the laptop or iPad, so make sure to keep that in mind as you shape the top.
  
Sanding
Once you are happy with the shape of your laptop/iPad stand, it’s time to start sanding. We used a 100mm flexible sanding pad, but you can use any type of sanding paper that you have. For the finer finishing touches we also use the Contour Sander which again you could replace with a finer grit of sandpaper, but as we have the tools we thought we would make light work of the sanding stage.
Oiling
Once you are happy with the shape and smoothness of your project it’s time to oil. Depending on the finish that you want, you can seal it with a varnish, making it super glossy or dull wax for a matte finish.
|